
Halloween is about embracing the spooky, the eerie, and the downright terrifying. What better way to do that than with some seriously scary nail designs? Whether you’re gearing up for a Halloween party or just want to get into the spirit of the season, these top 5 scary Halloween nail designs will add a touch of horror to your look. Each design is detailed, creepy, and surprisingly easy to achieve, even for beginners. Let’s dive into the details of these spine-chilling designs!
Related article : Halloween Nail Art Ideas: Create Spoocxky & Stylish Nails In 2024
Table of Contents
1. Bloody Drip Nails
Imagine nails dripping with fresh, red blood—nothing says Halloween quite like it. The bloody drip nail design is classic, simple to create, and striking to wear.
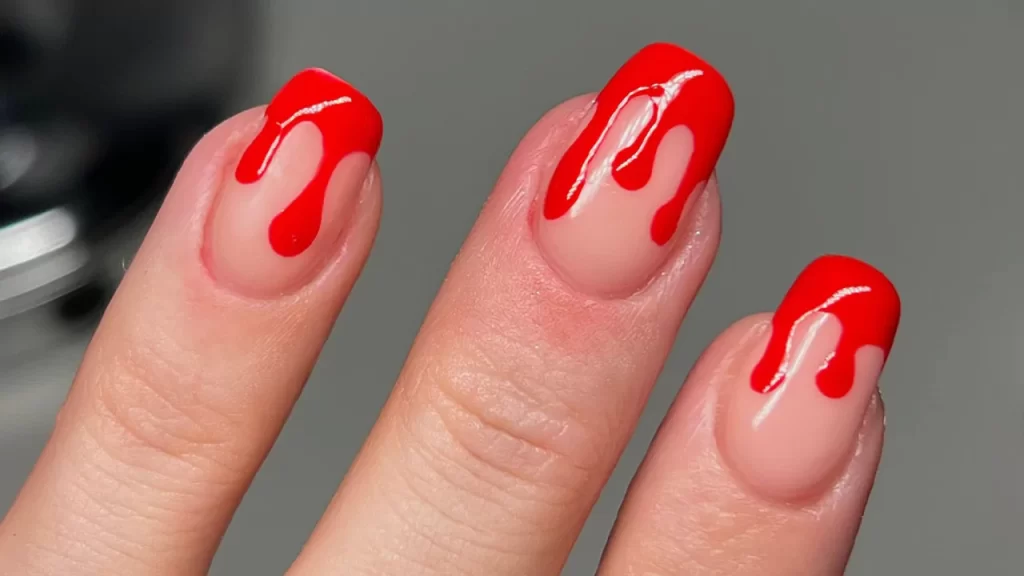
- How to Achieve the Look:
- Base Color: Start with a nude or light pink base coat to mimic skin tones. This helps the red “blood” stand out more.
- Create the Drips: Using red nail polish, place a small dot at the tip of your nail and drag it downwards, creating a drip effect. Vary the length and thickness of each drip to make it look more natural and realistic.
- Finishing Touch: Add a glossy top coat to give the “blood” a wet, shiny appearance, enhancing the creepy effect.
Tip: For an even more realistic look, use a dark red polish for the base of the drips and a brighter red at the tips.
2. Graveyard Scene
Turn your nails into a spooky graveyard with silhouettes of tombstones, gnarled trees, and a haunting full moon. This design is perfect for those who love detailed and thematic nail art.
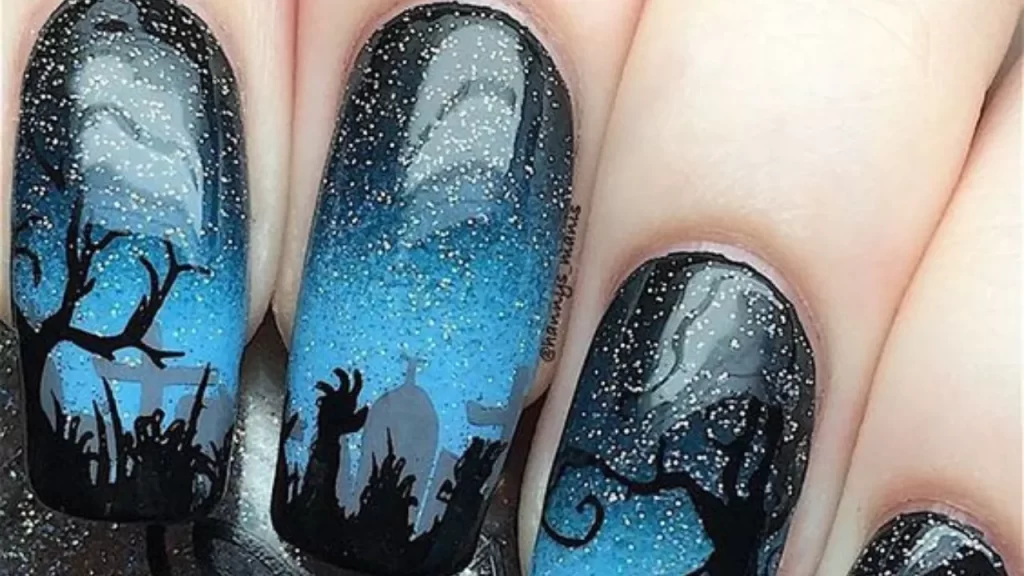
- How to Achieve the Look:
- Background: Start with a dark purple or deep navy blue base representing the night sky.
- Moon: Use a dotting tool or a thin brush to create a white or yellow full moon near the cuticle area.
- Silhouettes: With black nail polish, carefully paint tombstones, trees, and even a few flying bats. Keep the designs simple but recognizable.
- Top Coat: Seal your design with a matte top coat for a mysterious, foggy effect, or go with a glossy finish for a sharper look.
Tip: Use nail stickers or stamping tools to create precise silhouettes if freehand drawing is challenging.
3. Zombie Skin
Recreate the look of decaying zombie skin right on your nails. This design is perfect for anyone looking to add a gruesome touch to their Halloween ensemble.
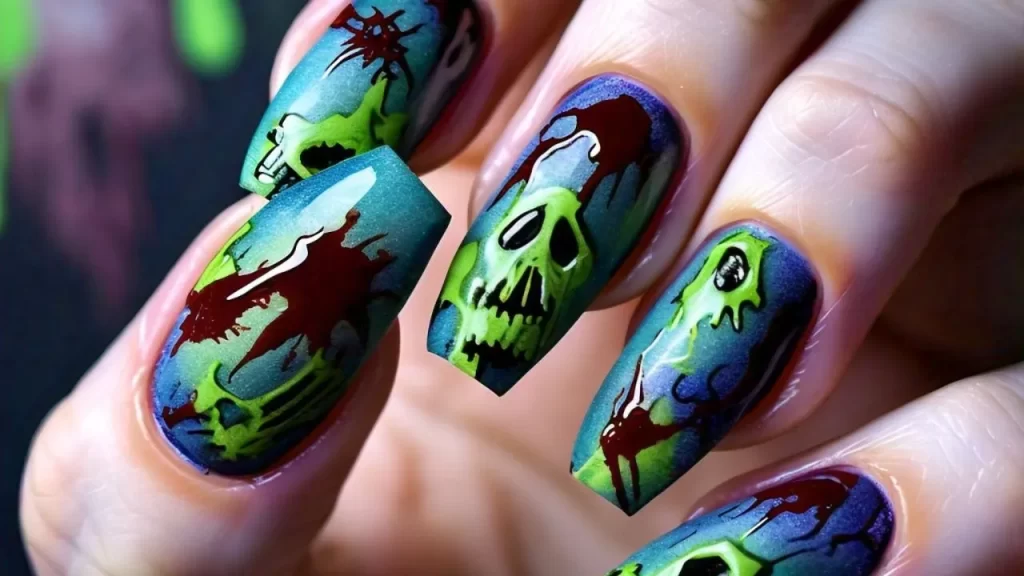
- How to Achieve the Look:
- Base Color: Apply a sickly greenish-gray polish as your base to mimic decaying flesh.
- Texturing: Use a sponge to dab on darker shades of green and brown for a mottled, uneven look. This creates the illusion of rough, decomposing skin.
- Wounds and Stitches: Add details like red polish for wounds or black lines for stitches. Use a fine brush to draw these details, giving your nails an authentic zombie look.
- Final Touch: Apply a matte top coat to keep the look realistic and less shiny, as zombie skin is not glossy!
Tip: For added horror, use 3D nail art elements like small studs or faux scars to enhance the texture and realism of your zombie nails.
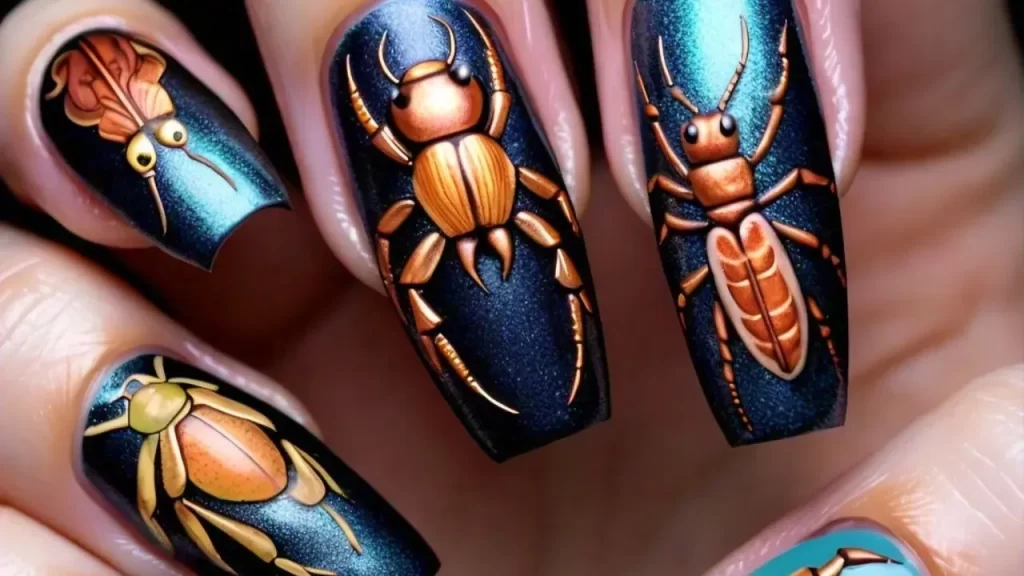
4. Creepy Crawlers
This design might send shivers down your spine if you fear spiders. Tiny black spiders crawling across a web make for a terrifyingly detailed nail design.
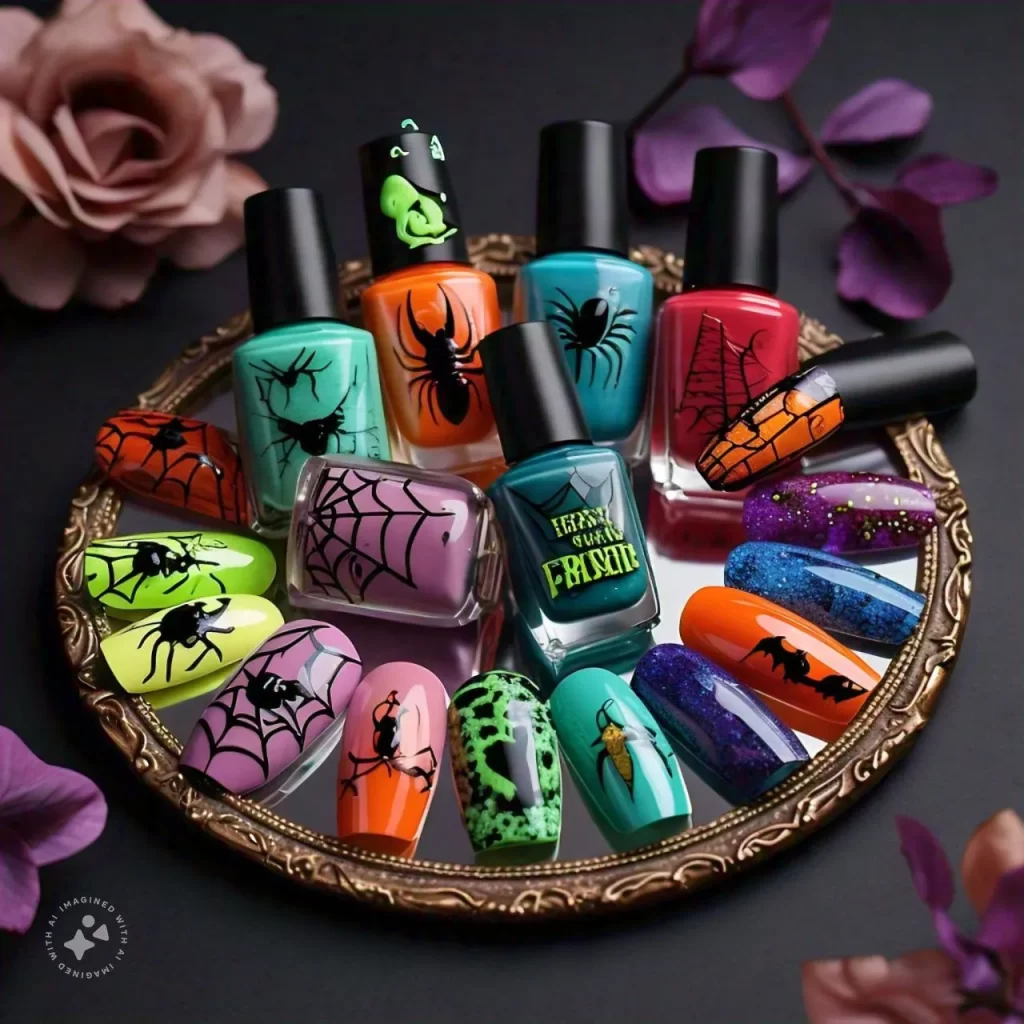
- How to Achieve the Look:
- Base Color: Start with a light background, like white or pale gray, to make the spiders and webs stand out.
- Web Design: Using a thin nail art brush or a nail pen, draw intersecting lines from a corner of your nail to create a web. Add small cross lines to complete the web pattern.
- Spiders: Draw tiny spiders on or near the web with black polish. Add small white dots for the eyes to make them pop.
- Top Coat: Finish with a glossy top coat to give the spiders a realistic, shiny appearance.
Tip: You can add a few red or green dots on the spiders’ backs to create the look of venomous species, adding an extra layer of creepiness.
5. Skull Nails
Skulls are a Halloween staple, making for a striking nail design. This look is perfect if you want something bold and instantly recognizable.
- How to Achieve the Look:
- Base Color: Start with a black base coat to set the stage for your skulls.
- Skull Faces: Using white polish, outline a skull on each nail. Add eye sockets, a nose, and a toothy grin with black polish or a nail art pen.
- Detailing: For added depth, use gray polish to shade areas of the skull, giving it a more 3D appearance.
- Top Coat: Seal with a glossy top coat to make the skulls stand out and protect your design.
Tip: If drawing skulls freehand seems difficult, you can use nail stamps or decals to achieve a perfect design with minimal effort.
You can also read : 10 Easy Halloween Nail Designs for Beginners In 2024
Conclusion
These top 5 scary Halloween nail designs are the perfect way to bring frightful fun to your Halloween celebrations. Whether you opt for bloody drips or creepy crawlers, each design offers a unique way to embrace the spooky season. With a little practice and creativity, you can easily achieve these looks at home, making your nails the talk of any Halloween party. So, gather your polishes and prepare to create some terrifyingly good nail art this Halloween!


