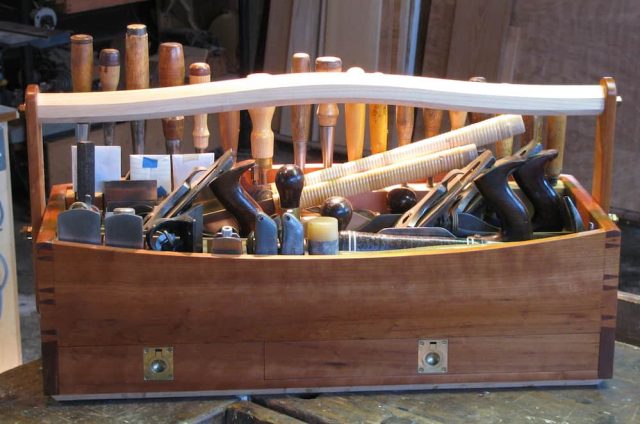
A toolbox is an essential item for any DIY enthusiast, mechanic or handyman. Whether you are an amateur or a professional, having a custom tool box can make your work more efficient and organized. Making your own custom tool box is a great way to save money and create a tool box that is tailored to your specific needs. In this blog post, we will provide some tips on how to make your own custom tool box and adjust a custom tool box cover.
Choose the right materials
The first step in making a custom tool box is to choose the right materials. You can use any type of material for your tool box, but the most common materials are metal and wood. Metal tool boxes are more durable and can withstand harsh environments, but they can be heavier and more expensive. Wooden tool boxes are lighter and more affordable, but they are not as durable as metal tool boxes. You can also use plastic or fabric materials to make your tool box.
Measure your tools
Before you start building your tool box, you need to measure your tools to ensure that they will fit inside. You should measure the length, width, and height of your largest tool to ensure that it will fit comfortably inside your tool box. You should also consider the number of tools that you have and the space that you have available for your tool box.
Plan your layout
Once you have measured your tools, you need to plan your layout. You should arrange your tools in a way that makes them easy to access and use. You can use dividers or compartments to organize your tools and prevent them from shifting during transport. You should also consider the weight distribution of your tools and place heavier tools at the bottom of your tool box.

Choose a design
The design of your tool box is important because it will affect the functionality and appearance of your tool box. You can choose a simple design or a more complex design depending on your needs and skills. You can also add features such as locks, handles, and wheels to make your tool box more convenient to use.
Build your tool box
Once you have chosen your materials, measured your tools, planned your layout, and chosen your design, you can start building your tool box. You should follow your design plan and use the appropriate tools and materials for each step. You should also take your time and be patient to ensure that your tool box is sturdy and well-built.
Adjust your custom tool box cover
Once you have built your custom tool box, you may want to add a cover to protect your tools from dust and moisture. You can purchase a custom tool box cover or make one yourself using waterproof and durable materials. To adjust your custom tool box cover, follow these steps:
- Measure the length, width, and height of your tool box
- Cut your cover material to size, leaving a little extra material for seams
- Sew the seams together using a waterproof and durable thread
- Hem the edges of your cover to prevent fraying
- Add a zipper or Velcro closure to make it easy to access your tools
In conclusion, making your own custom tool box is a great way to save money and create a tool box that is tailored to your specific needs. You should choose the right materials, measure your tools, plan your layout, choose a design, and build your tool box carefully. Once you have built your tool box, you can adjust a custom tool box cover to protect your tools from dust and moisture. With these tips, you can create a custom tool box that is functional, durable, and stylish.


